Showing posts with label Tips. Show all posts

Saturday, January 11, 2014

Lego Party

   We decided to throw a birthday party for my son and his cousins while visiting our home state of Michigan this year. Seeing as how we were traveling, we weren't going to do anything big and crazy, so my sister graciously offered to host a "home" birthday party at her house. I let my son pick whatever theme he wanted and this year he chose a Lego themed birthday party. When I went to the local party store to check out what kind of decorations were available in that theme however, I was disappointed with my options. So what did I do? I logged on to good ol' Pinterest for inspiration!

   The first thing I wanted to tackle were the goody bags. I had decided that in each bag I would put a small Lego set (like the kind you see by the cash register at Target) and a small bag of Lego brick candy that they sell at my local bulk candy store. I already had some clear plastic candy bags, so I purchased a large bag of the brick candy and divided it up. I scooped some of the bricks into each bag and weighed them with a food scale that we had to make sure that each bag had the same amount of candy.

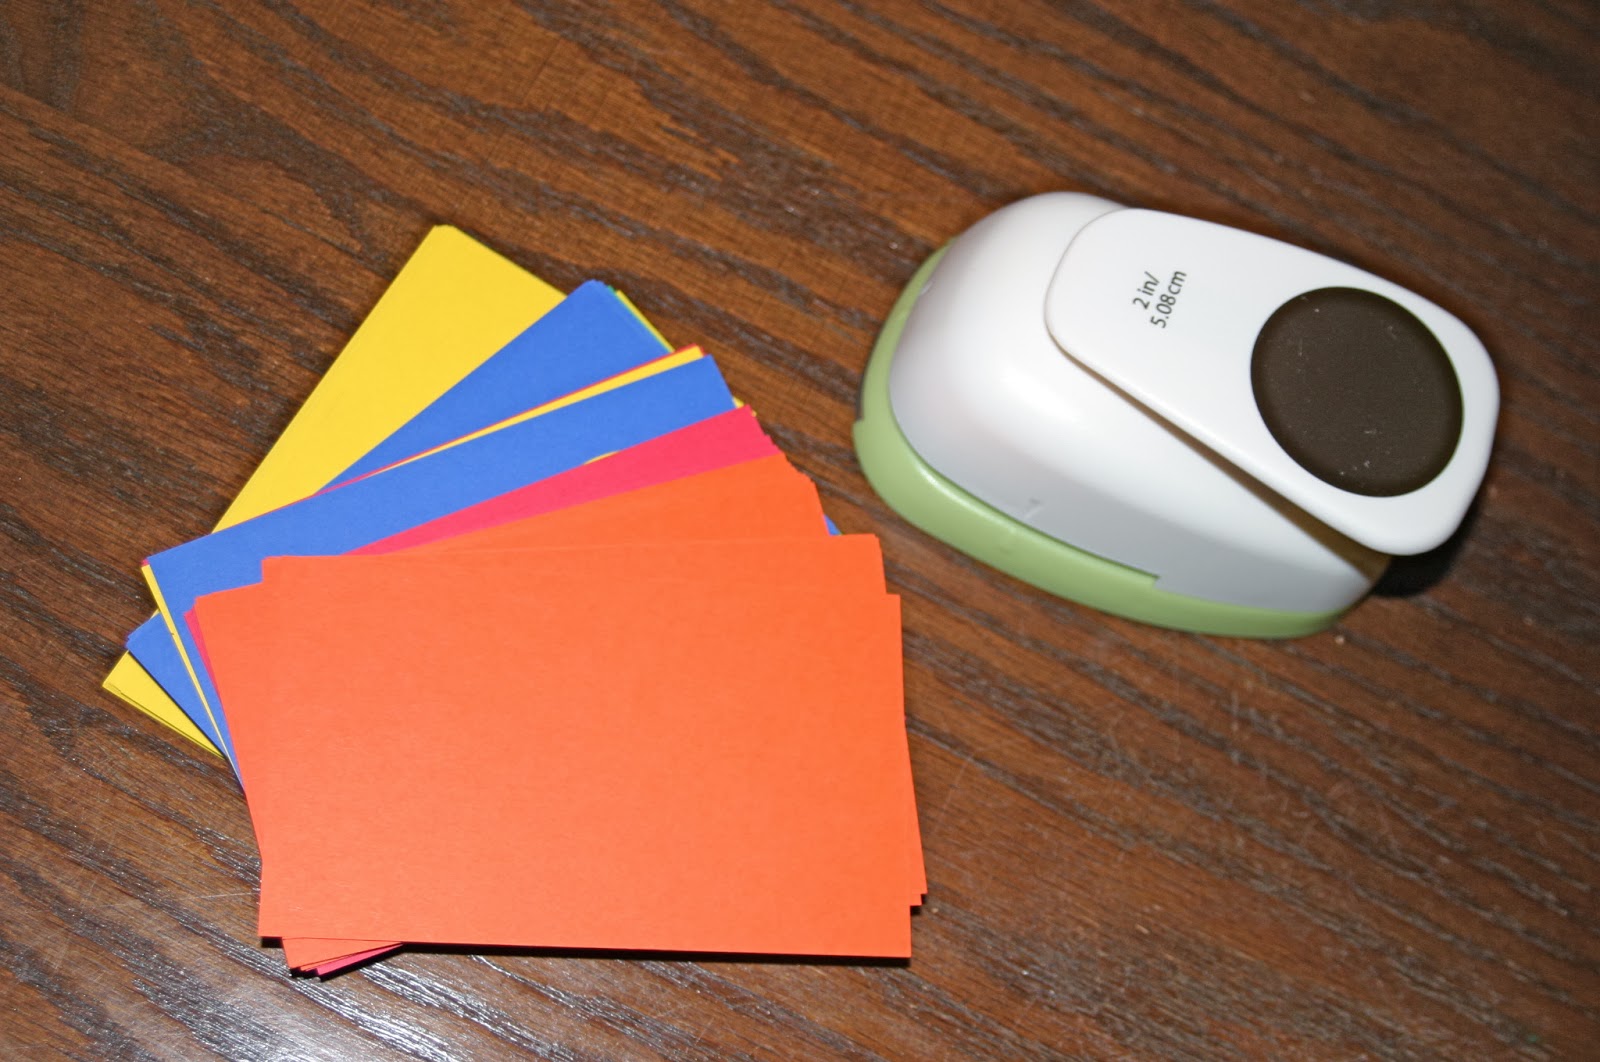
    To make the bags, I purchased some paper bags with handles from Michael's, a package of card stock that matched each bag, a 2 inch hole punch and some double-sided foam mounting tape. 
   I punched the holes out of the card stock and attached them to each bag with the mounting tape, measuring with a rule to make sure that the circles were roughly an equal distance from each other. The result was a Lego brick looking bag.

    For the decorations, I purchased square plates from Target, and napkins, cups, plastic tablecloths, balloons and streamers in the same colors as the bags (red, blue, green, yellow, orange) from the Dollar Tree (my favorite place for party supplies!). I happened to already have a "Happy Birthday" banner from last year so I used that as well. I put everything out on the table and scattered Lego pieces down the middle of the table. To create the Lego figure guys that I put on the windows and in various locations around the house, I Googled "Lego Coloring Page" and found a template that I copied into a Word document and then printed onto yellow paper. I then cut each guy out (in stacks of 3-4 at a time) and taped him around the house. 
   I wanted to keep the party simple, so I only arranged for two games. The first one was "Guess how many Lego pieces are in the jar?" I had my sister put Lego bricks into a jar and count them so that we would know how many were in there. Each child took a turn guessing how many bricks were in the jar by writing their name and number on a piece of paper. The child with the closest number without going over was the winner. The second game we played was "See how many Lego bricks you can move with chop sticks in one minute." I put out two plates, one with Lego pieces and an empty plate. I then gave the child a set of chop sticks and made them put their other hand behind their back. They had one minute to see how many Lego pieces they could move over to the other plate with the chop sticks (I timed them with my phone). The game was a lot of fun for all of the different ages we had at the party (ages 5-11) and it was interesting to see the strategy each child used to move the pieces. The kids all seemed to have a great time!

   For the cake, I ordered a "Lego brick cake" at a local bakery. I wasn't sure what I would end up with, but I thought they did a good job. I then purchased a small Lego set for the top and Lego brick candles from Target. I was happy with the end result.
    The small party was very easy to throw together and my son was very happy with the results. Overall, I think the way that I decided to create the decorations was significantly cheaper than if I would have purchased the Lego themed party supplies from the party store. The most expensive part of the party was the goody bags, but I thought they were worth it! What kinds of things did you do at your Lego party? Let me know!   

Tuesday, November 19, 2013

Cinnamon Cut Out Ornaments

   One of my favorite things to do with my son during the holiday season is to make homemade ornaments for the tree. They're fun, creative, and make great gifts! If you haven't seen my other post about homemade salt dough ornaments, you can find it by clicking here. Cinnamon Cut Out Ornaments are one of my favorite kinds of ornaments to make because they're really easy to make, smell delicious and look adorable. Enjoy!


Cinnamon Cut Out Ornaments 
(For decoration only! DO NOT EAT!)

1 Cup Ground Cinnamon
2/3 Cup Applesauce
1 Tbs White Glue

1. Mix all of the ingredients (the cinnamon, applesauce and glue) together.

 
2. Roll out to about 1/4 inch thick on a surface sprinkled with extra cinnamon. Cut shapes with cookie cutters and lay flat on wax paper. Use a straw to make a hole at the top for the string.


3. Turn over frequently for the next 2-3 days. Let them dry completely. 
4. Once completely dry, you can decorate with fabric paints or glitter glue, or just leave them as they are!

Don't forget to share with someone you love!


Monday, December 10, 2012

Homemade Christmas Ornaments/Recipe for Salt Dough Ornaments

   All of last week, I was chomping at the bit at work for the weekend. I couldn't wait to be home with my family! I had big plans to make homemade Christmas ornaments all weekend with my child and I wanted to get started ASAP!

   I couldn't be more pleased with the way that they turned out! Just like cards, ornaments are more special to me when I know little hands have worked hard on creating them. All I see is the beauty and goodness in something when I know it comes from a place of love!

   Anyhow, if you have any questions about the way that any of these are made, please comment your question on either the Blogger website or my Facebook page. They're very easy and pretty self-explanatory. The most important item you will need for all of them is a GLUE GUN. If you are a mom and you don't own a glue gun, you need to run to the store right now (Michael's, Jo-Ann's, Hobby Lobby, etc.) and buy yourself one! You won't regret it! The glue gun has a been a life saver for me, not only for crafts but for many other magical mom tricks such as: fixing toys, patching holes so that ants don't get into your house, fixing the soles of shoes, its uses are endless! I also used a lot of popsicle sticks. These are good to have around the house too! If you are curious about what craft supplies might be handy to have at home, please refer to my older post on Art at Home


   Another fun Christmas activity to do with your kids is making salt dough ornaments. I'm not sure how long lasting they are, but they are fun to make and decorate. If you HAVE to throw them out, at least you'll know that you didn't spend a lot of them AND you can have fun making them again next year! I've seen lots of variations of this recipe, but here's the recipe that I followed.

Salt Dough Ornaments

You will need:

2 cups flour
1 cup salt
3/4 cup warm water
Cookie cutters
Straw
Cooking spray
Paint, glitter, etc. to decorate
String


1. Preheat over to 225 degrees.
2. Mix flour and salt. Add water. Knead until soft (if dry, add more water).

3. Roll dough on floured surface to 1/4-inch thick. 

Cut with cutters. Add hole at top with straw. Put shapes on sprayed cookie sheet and bake 2 to 4 hours until hard, flipping every 45 minutes.
 4. Let cool completely. Decorate. Tie ribbon through hole.


To see my recipe for Cinnamon Cut Out Ornaments, click here.

Sources of inspiration:  http://www.usmagazine.com/celebrity-news/news/tori-spellings-kid-friendly-holiday-entertaining-tips-2012512, http://www.misseberhartsclass.com/christmas_ornaments.htm, http://www.thecraftycrow.net/2008/12/popsicle-stic-2.html.

Tuesday, November 27, 2012

How To Remove a Pesky Price Sticker


   The other day I purchased a few Christmas cookie tins with huge price stickers on the bottom. As I started to attempt to peel one off, the sticker kept ripping into little sections, making it very difficult for me to remove it. I could see that these stickers were not going to come off without a fight! Another problem I was having was when and if I was able to remove the sticker, it would leave behind a sticky residue on the tin. I had to figure out a way to get these stickers off! Sure, I could have soaked all of the tins in water, but who has time for that? I needed another fast solution. After searching the Internet for all of the possible liquids I could rub on it (Seriously, who has lighter fluid handy? Vegetable oil sounds messy!) I came across a method that worked so beautifully, I just had to share it!

   I got out my good old hair dryer, blew it on the sticker for about 15 seconds, and the sticker came off without a problem, glue and all! That's it! How simple is that? I was thrilled! I saved myself so much time! Just be careful if you are doing this method with cookie tins like I did because those suckers can get hot! I love time-saving tips like this, don't you?